
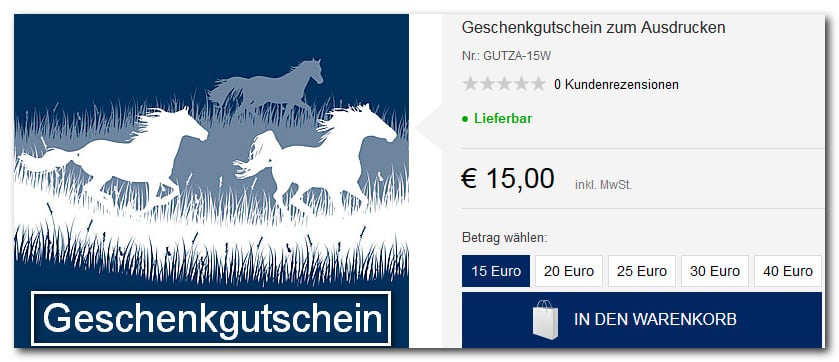
What the process looks like
Because the buyer sees the number immediately after payment and can redeem it right away, purchase vouchers can be tied to secure payment methods. How to set this up is described in step 5.
If the customer changes the value after adding it to the basket, for example via a different variant, the shop draws the numbers again. The number that ends up on the voucher is therefore only final with the order.
The integration
Step 1: Activation
If you want to use the voucher generator, it must be activated for your shop. Contact your WEBSALE representative to do so.If the vouchers come from an external system and are therefore not in WEBSALE format, add the entry
ExternalVouchers-Allow = yes in the <Voucher-Txt> section of the shop.config.Step 2: Integrating voucher entry
If your shop does not offer vouchers at all yet, the option to enter them is missing. Without it, nobody can redeem the purchased voucher later. Guide: Provide voucher entryStep 3: Creating the purchase vouchers as products
Purchase vouchers are created like any other product. In addition, they need the product fieldInstantVoucherProduct, which consists of four values. All four are placed one after another in one field and enclosed by <g>.
Variants are generally used for the value levels. A “voucher value” variant with the levels 10, 20, 50, 100, 200, and 500 euros is the usual setup. In combination with
<3> set to y, the voucher value then results directly from the selected variant.Step 4: Providing voucher numbers
The numbers come from one of two sources. Position 4 in the product field decides which one.In both cases, each voucher must be assigned a batch ID, because this exact ID is what you enter at position 2 of the product field. Without a matching batch, the shop finds no numbers.
- The stored currency is replaced by the currency of the subshop.
- The voucher value from the template or pool is replaced by the product price.
The format of the import file is described in separate documentation, which you can request from WEBSALE AG.
Step 5: Defining payment methods
Because the buyer sees the voucher number immediately after payment and can redeem it right away, you should only sell purchase vouchers for online payment methods such as credit card, PayPal, or Sofortüberweisung. With invoice or cash on delivery, the customer would already have the equivalent value in hand before the money reaches you. You define the approval individually for each payment method, in the respective<PaymentXXX-Txt> section of the shop.config.
XXX stands for the respective payment method, so the section is called <PaymentCreditCard-Txt>, for example. If at least one purchase voucher is in the basket, the shop only offers the payment methods for which this entry is set to yes.Step 6: Marking purchase vouchers in the templates (optional)
Purchase vouchers can be enclosed separately to display them differently from ordinary products, for example with a notice about the immediate download.Step 7: Displaying the voucher number and download link
The generated number and the link to the PDF file can be output in three places: on the order confirmation pagews_confirm.htm, in the order confirmation email, and in the order history.
The inner loop is necessary because a basket item can contain multiple vouchers. If someone buys five vouchers of the same kind, five numbers and five PDF files are created in a single item.
BASKET-PR-InstantVoucherProductData_PDFLinkPart only provides the latter part of the address. WS-Start must precede it, which is why the two tags appear directly one after the other in the example. The parameter is encrypted, provided with a checksum, and contains the shop ID, so other people’s vouchers cannot be retrieved through it.Step 8: Creating the template for the PDF download
The voucher for printing is generated from a dedicated template. Three settings are required for this.8.1 Assigning the template in the configuration
8.2 Creating the template
Create the template under the name you just assigned in your template directory, for example underbenutzer/templates, or in a multilingual shop in the directory of the respective subshop.
INSTANTVOUCHER- family comprises exactly these seven tags.
For a physical store, you can additionally print the voucher number as a barcode on the template and have it scanned at the checkout. The tag
WS-BarcodeURL generates the barcode as an image.8.3 Defining the file name of the PDF file
This name appears in the customer’s download dialog. A descriptive name like
gutschein.pdf is worth more here than a technical designation, because the file should remain easy to find in the buyer’s download folder.Step 9: Providing the error message
If something goes wrong when drawing or generating a voucher number, the customer needs a text. Store it in the<NotifyMessages-Txt> section of the shop.config.
Step 10: Offering the download in the order history
If the customer deletes the confirmation email, without this step they have no way of getting to their voucher. Therefore, add the download to the order historyws_order_history.htm.
What you should keep in mind
If you have questions about the setup, contact the WEBSALE support team.
Related topics
- Guide: Offering vouchers: Overview
- Guide: Create or import vouchers
- Guide: Provide voucher entry
- Use case: Offer purchase vouchers for printing with multiple designs