
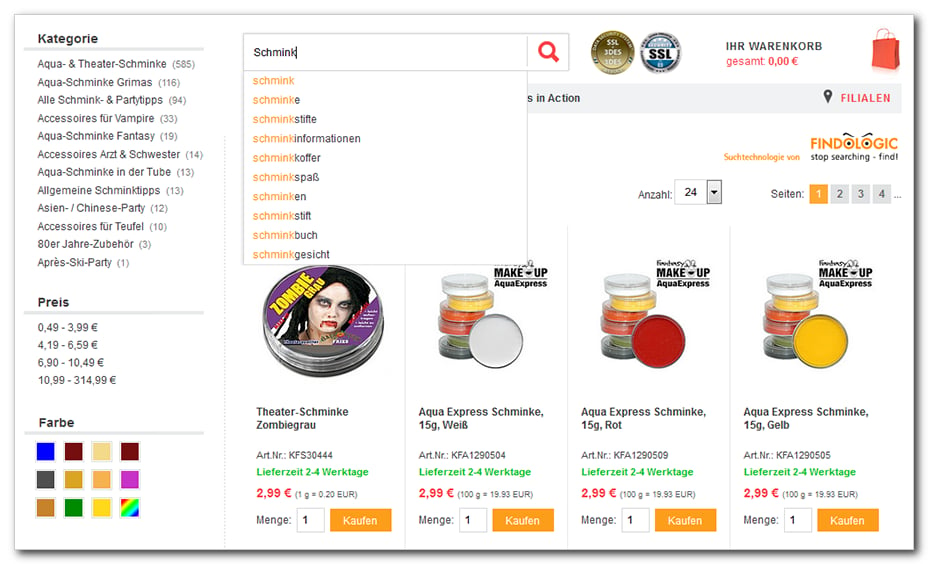
Prerequisites
Two accounts are required, and both sides have to contribute:
If the search is used, the product data must be transferred to FINDOLOGIC regularly. This export runs via the Dataflow-Manager and is triggered by WEBSALE.
You currently cannot adjust the data feed to FINDOLOGIC yourself; WEBSALE takes care of this. Alternatively, the export can also be run from your merchandise management system.
Clarify beforehand
These questions should be discussed with FINDOLOGIC and with WEBSALE before anyone touches a template:- Which of the three functions are to be used?
- Which data basis, which data source and which update interval are desired?
- In which subshops should FINDOLOGIC operate?
- Which filters and sort options should the result list offer? This is defined per subshop.
- What are the address and the shopkey for the call from the shop?
Data transfer
By default, FINDOLOGIC receives only your shop’s product data, as the basis for all three functions. Special prerequisites apply to further data and must be clarified with both sides. This is done via a profile in the Dataflow-Manager, which you define together with WEBSALE. It determines which product field types and which individual details are transferred, for example price, brand and color, as well as the transfer interval. After the profile has been created, you receive an export address for the data feed as a CSV file. Enter this address in your FINDOLOGIC account under “Einstellungen > Import/Export” in the “CSV-URL” field. Once the export is in place, define the preconfiguration for filters and sort options with FINDOLOGIC.Integrating the search
Step 1: Set up the fallback
If FINDOLOGIC fails, the customer should not be faced with an empty result list. The LiveCheck checks availability, and in an emergency the shop shows its own search results.alivetest.php and carries the shopkey as a parameter:
CheckMode = always checks again on every page request. This costs time, but is correct here: an outage remembered for the whole session would keep sending the customer to the internal search even when FINDOLOGIC has long since started responding again.Step 2: Adjust the search results page
The results are displayed on the template listed afterSearch in the <Templates> section of the shop.config. There, the area with the shop’s own search results is supplemented by an area with the external include. The shop’s own area then only appears when FINDOLOGIC cannot be reached.
The search term is passed into the address via
WS-SearchEnc, i.e. in URL-encoded form. The unencoded term would result in an invalid address if it contains spaces or umlauts.Step 3: Design the result list
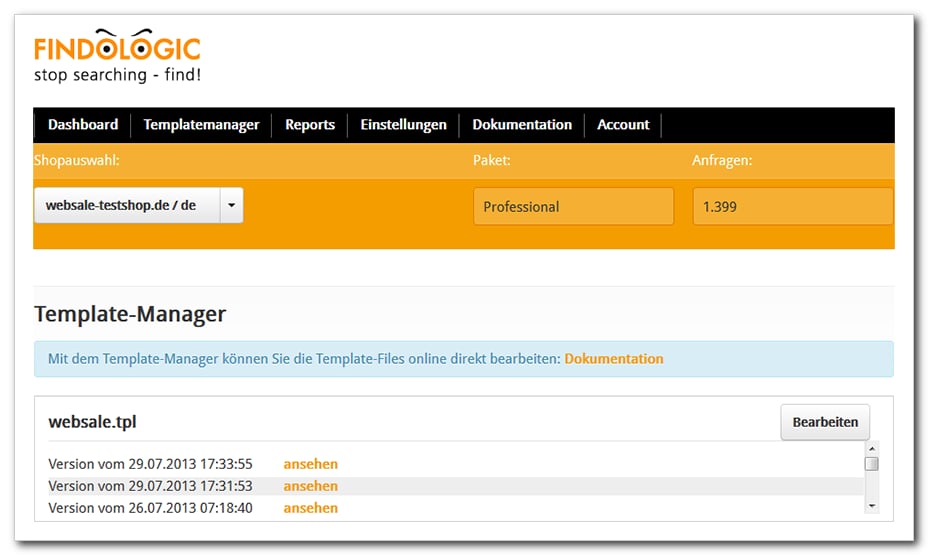
The design is not done in the shop but in the template manager of the FINDOLOGIC account. There you will find a shop-specific template namedwebsale.tpl, which your FINDOLOGIC contact provides on request.
It already includes:
- filtering and sorting of the search results
- selection of hits per page
- pagination
- display of the search term and the number of hits
- the search results themselves
<div id="flResults"> area: you may use WEBSALE tags there. This means the product display in the shop and in the FINDOLOGIC result list can be identical.
PR-AdvData() fetches the corresponding product data from the shop. Within this bracketing, all the usual product tags are then available.
The
{literal} areas belong to FINDOLOGIC’s template language. They ensure that the WEBSALE tags are passed through unchanged instead of being interpreted as instructions themselves.Step 4: Apply the styling
The HTML elements in the FINDOLOGIC template already carry classes and IDs. Add these to your shop’s stylesheet and give them the desired properties.Integrating the suggest function
Step 1: WEBSALE JavaScript library
Check whether the system library and the design component are included, and otherwise add them in the<head> area.
Step 2: jQuery components
Both files are available for download under “Materials”. Save them in your JavaScript directory and include them in the
<head> area.
Step 3: Adjust the search input field
The usual QuickSearch form is used. Two things change:Step 4: Design the suggestion layer
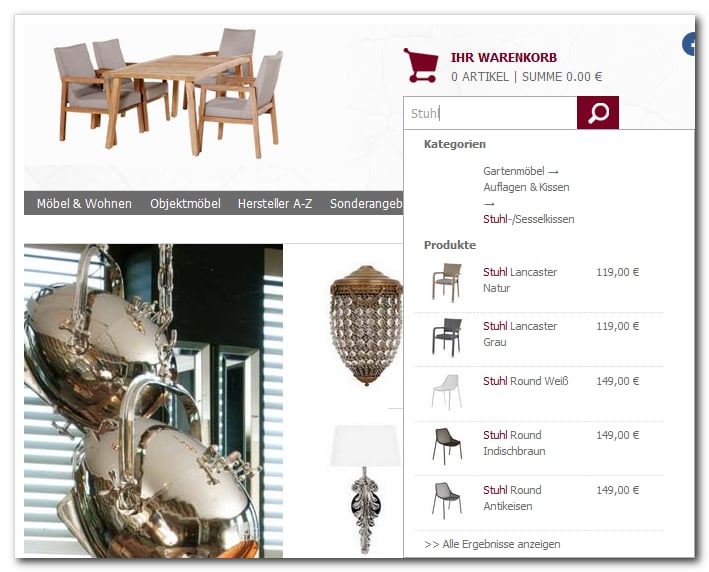
findologic_suggest.js builds the layer itself. Its elements already carry classes to which you assign properties. Under “Materials” you will find a stylesheet with a selection of these classes. You can either place the file in the CSS directory or copy its content into the shop’s existing stylesheet.
Materials: findologic_suggest.css
Overview of the process
For planning what happens in which order:- Contact FINDOLOGIC, order the functions and agree on the configuration.
- Arrange the activations with WEBSALE and define the data export.
- Select subshops and clarify the language-dependent points, for example the conversion of the character encoding and the relationship between field names and display names.
- Build the search results page and configure hits per page, pagination and the filters.
- Build the suggest function into all shop pages.
- Adapt all display elements to the shop’s design.
Related topics
- Guide: Integrating external content
- Guide: Deactivating the internal WEBSALE search when using external search providers
- Guide: Search